Over the weekend, I noticed I had a spare Raspberry Pi lying around (actually, several PIs) and installed Suricata as a NIDS on it.
This is a fresh install of Ubuntu 25.10 on a Raspberry PI 4B 4 GB
sudo apt update
sudo apt upgrade
sudo apt install -y suricata
suricata -V

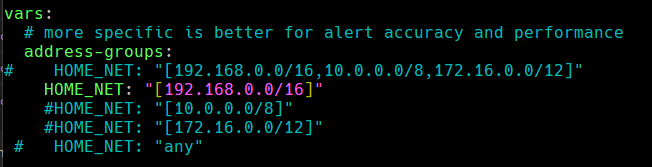
Edit /etc/suricata/suricata.json
Put your IP range under HOME_NET.
Put your interface under…interface

List the free detection rules:
sudo suricata-update list-sources --free
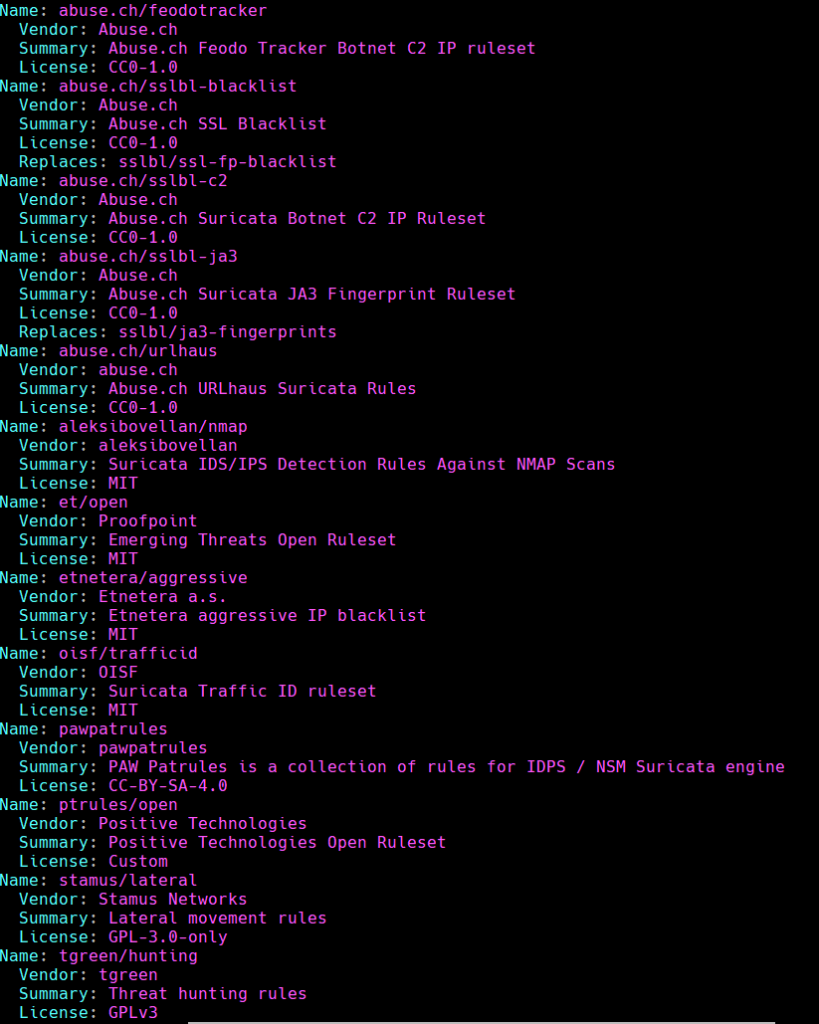
Enable et/open
sudo suricata-update enable-source et/open
IMPORTANT. Must update the rules.
sudo suricata-update
sudo systemctl restart suricata
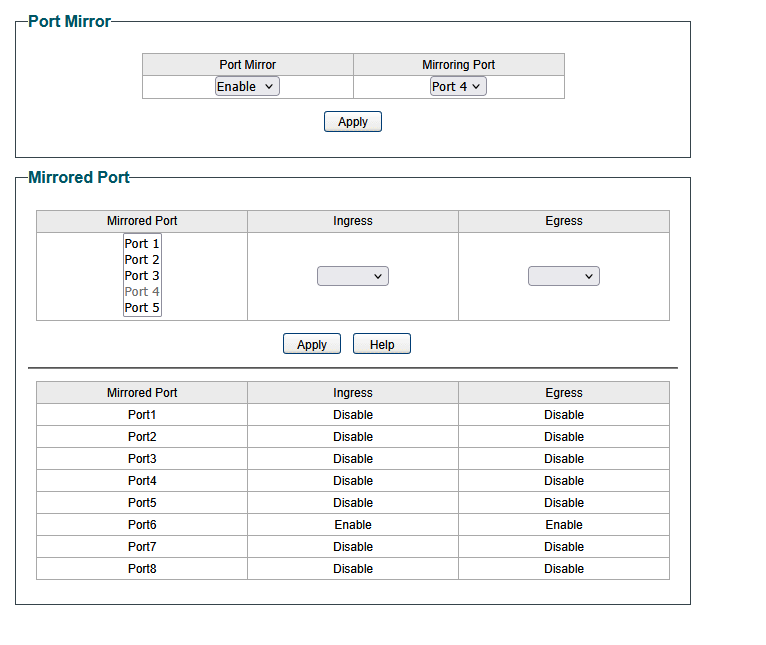
Enable Port Mirroring on your switch.
Back on the Raspberry PI. Next, download the universal forwarder for Linux ARM https://www.splunk.com/en_us/download/universal-forwarder.html?locale=en_us .
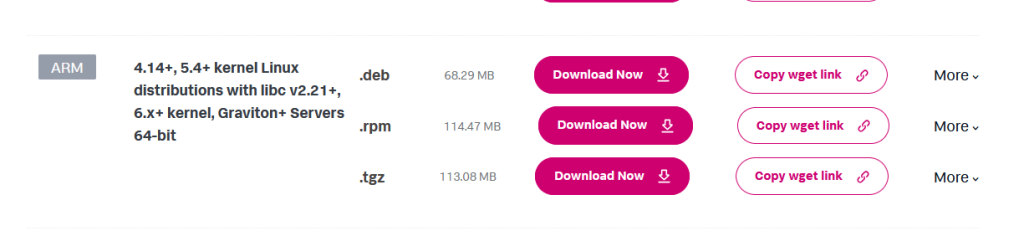
sudo dpkg -i splunkforwarder-......-linux-arm64.deb
sudo ./splunk add forward-server SPLUNK_IP:9997
sudo ./splunk restart *IMPORTANT*
Now to monitor your log files
./splunk add monitor /var/log/ **IMPORTANT* (Credit to https://gabrielgalvan.blogspot.com/2015/10/raspberry-pi-as-splunk-universal.html)
Now you should have your Raspberry PI forwarding.
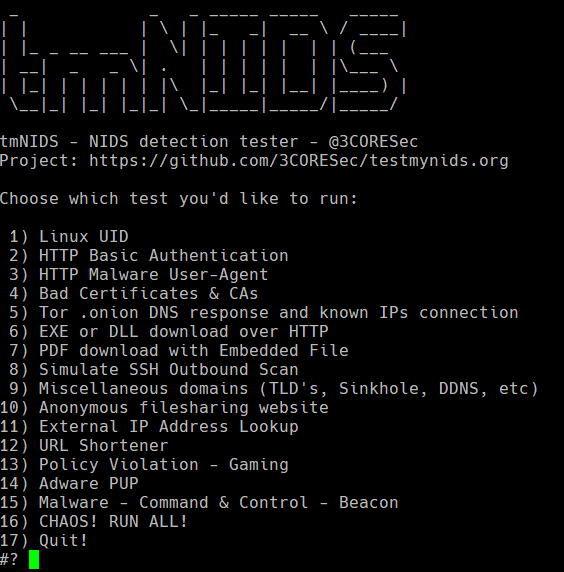
I used the script at https://github.com/3CORESec/testmynids.org to test it.
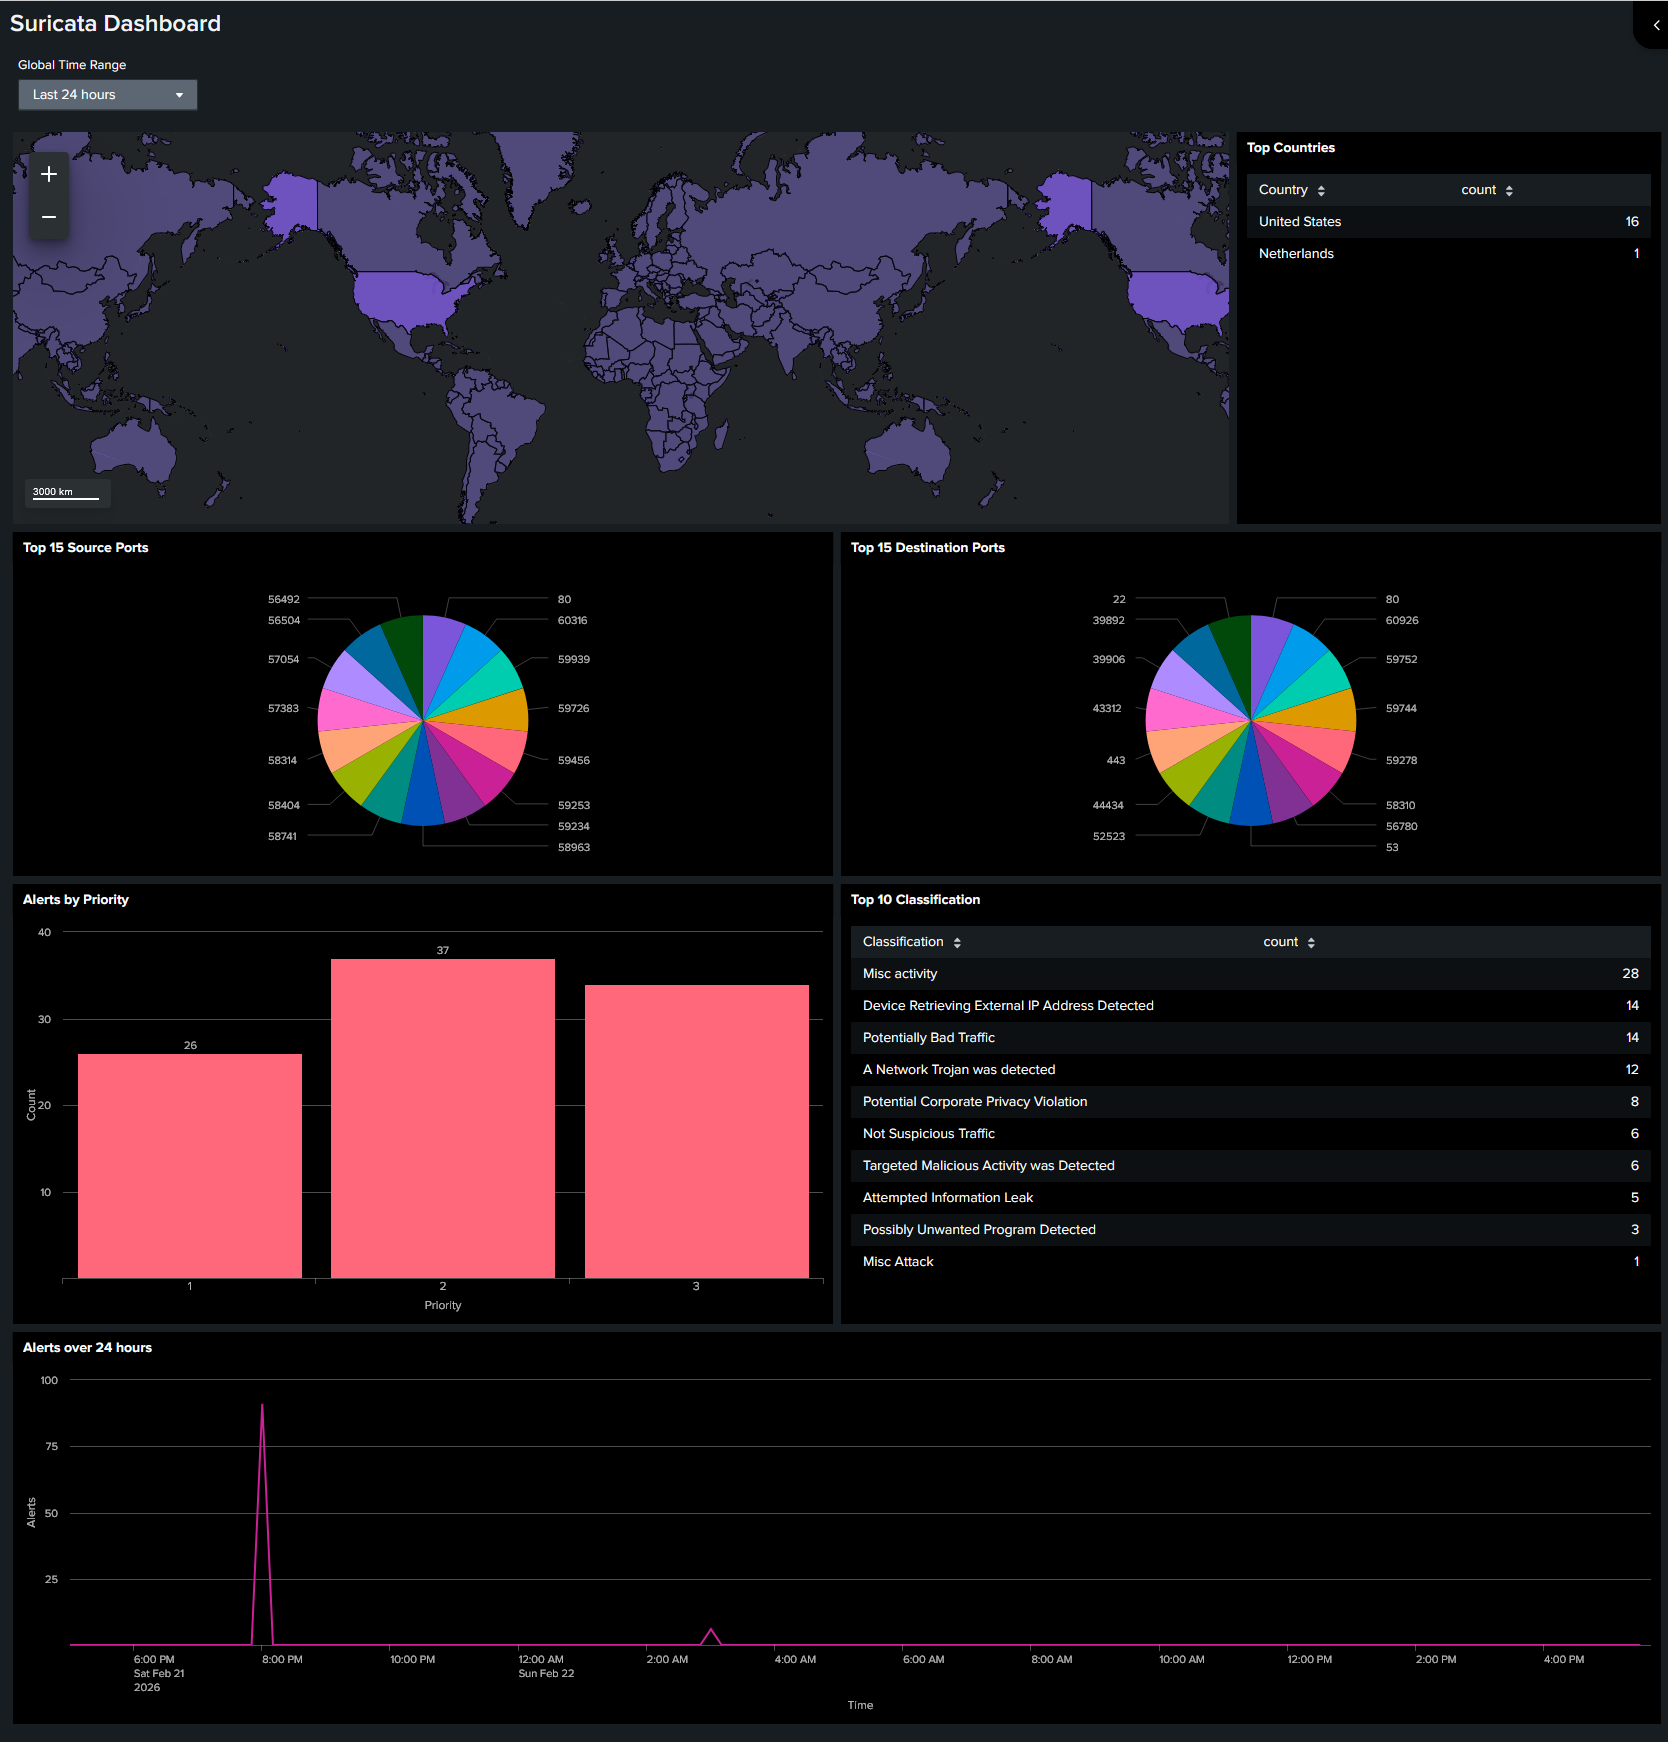
Next, create your own dashboard!